
Keyword Manager
How to get to Keyword Manager?
1. You can click on Go to Keyword Manager button on Step 3 of Client Settings.
or,
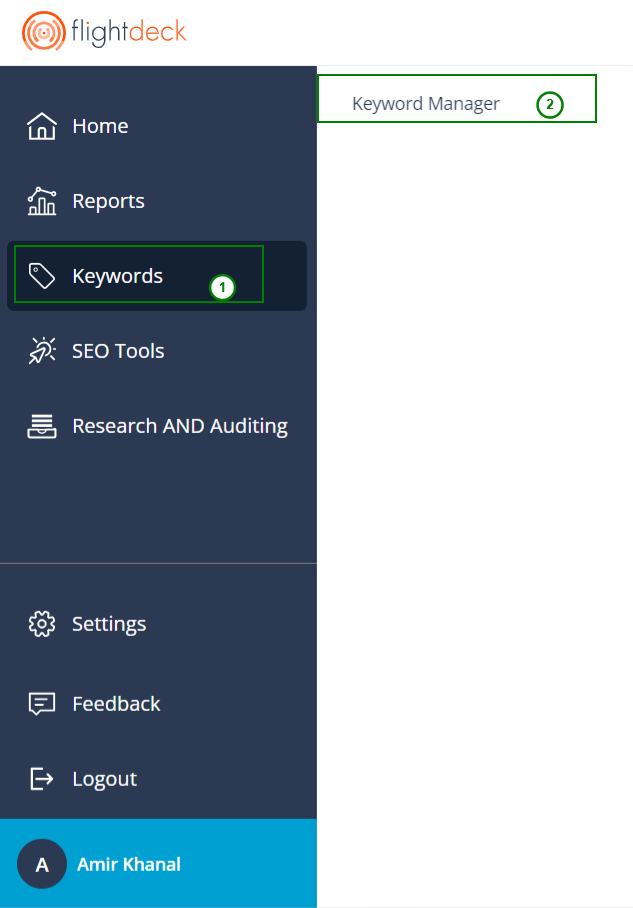
2. Click on Keywords menu from side menu bar and click on Keyword Manager menu.
Creating/Deleting Baskets
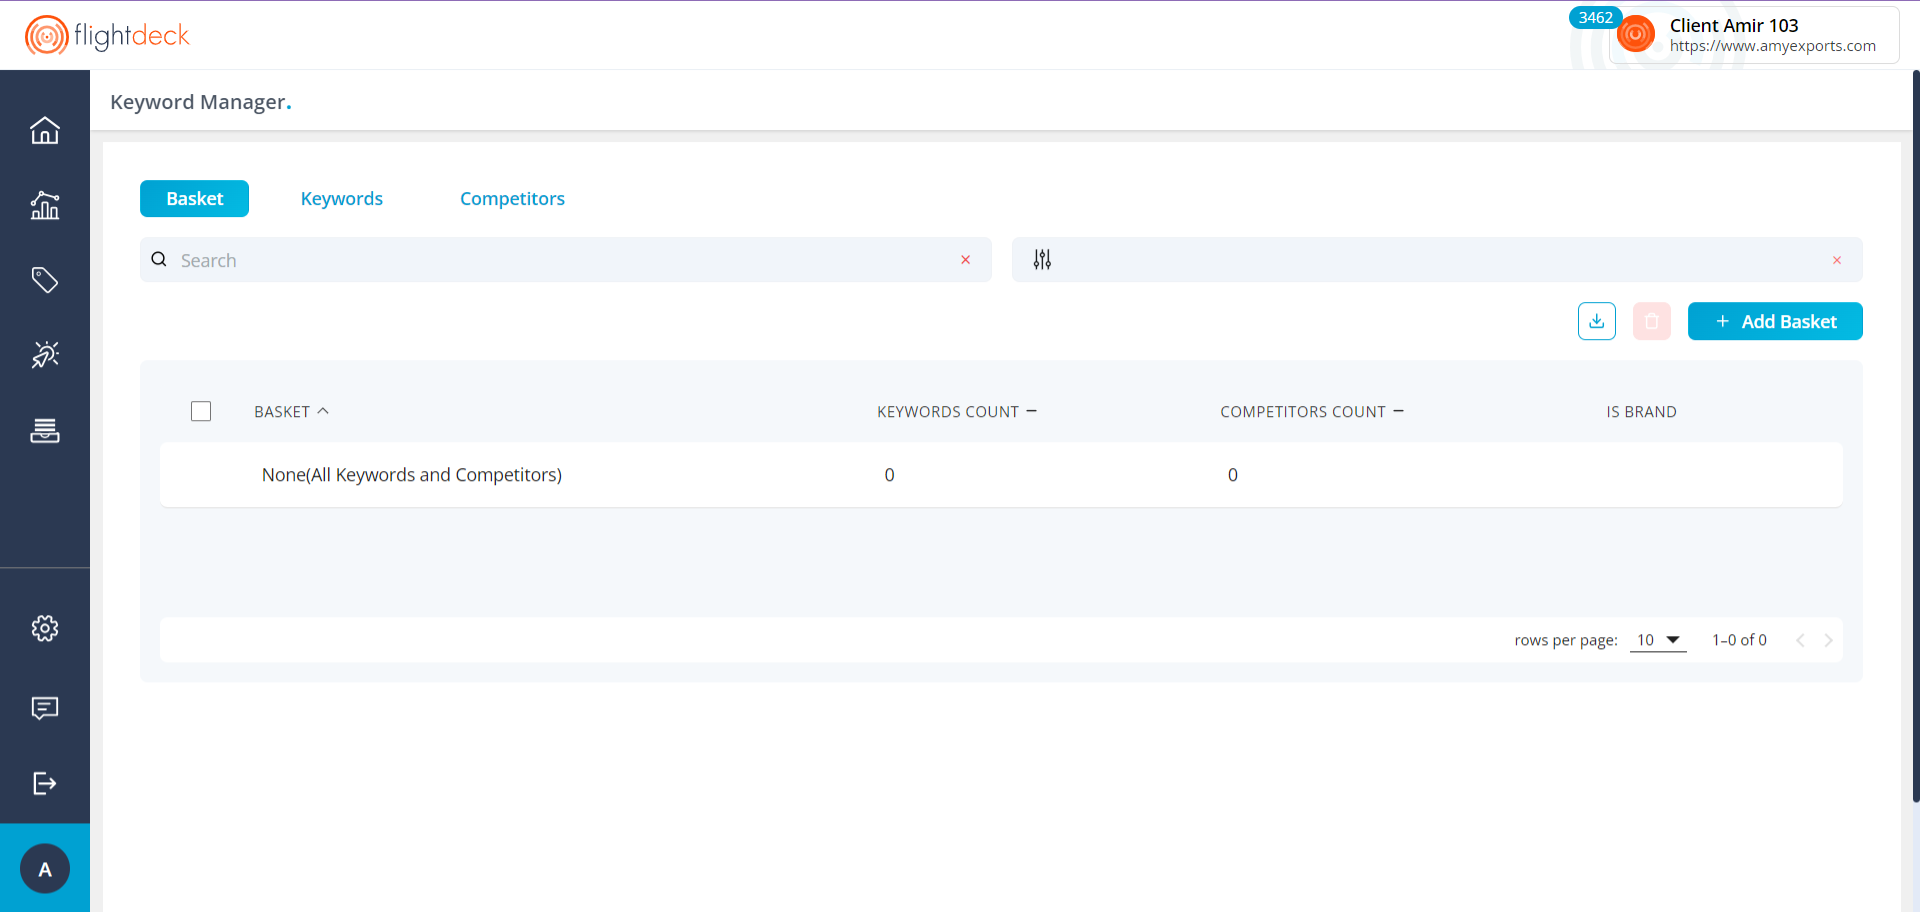
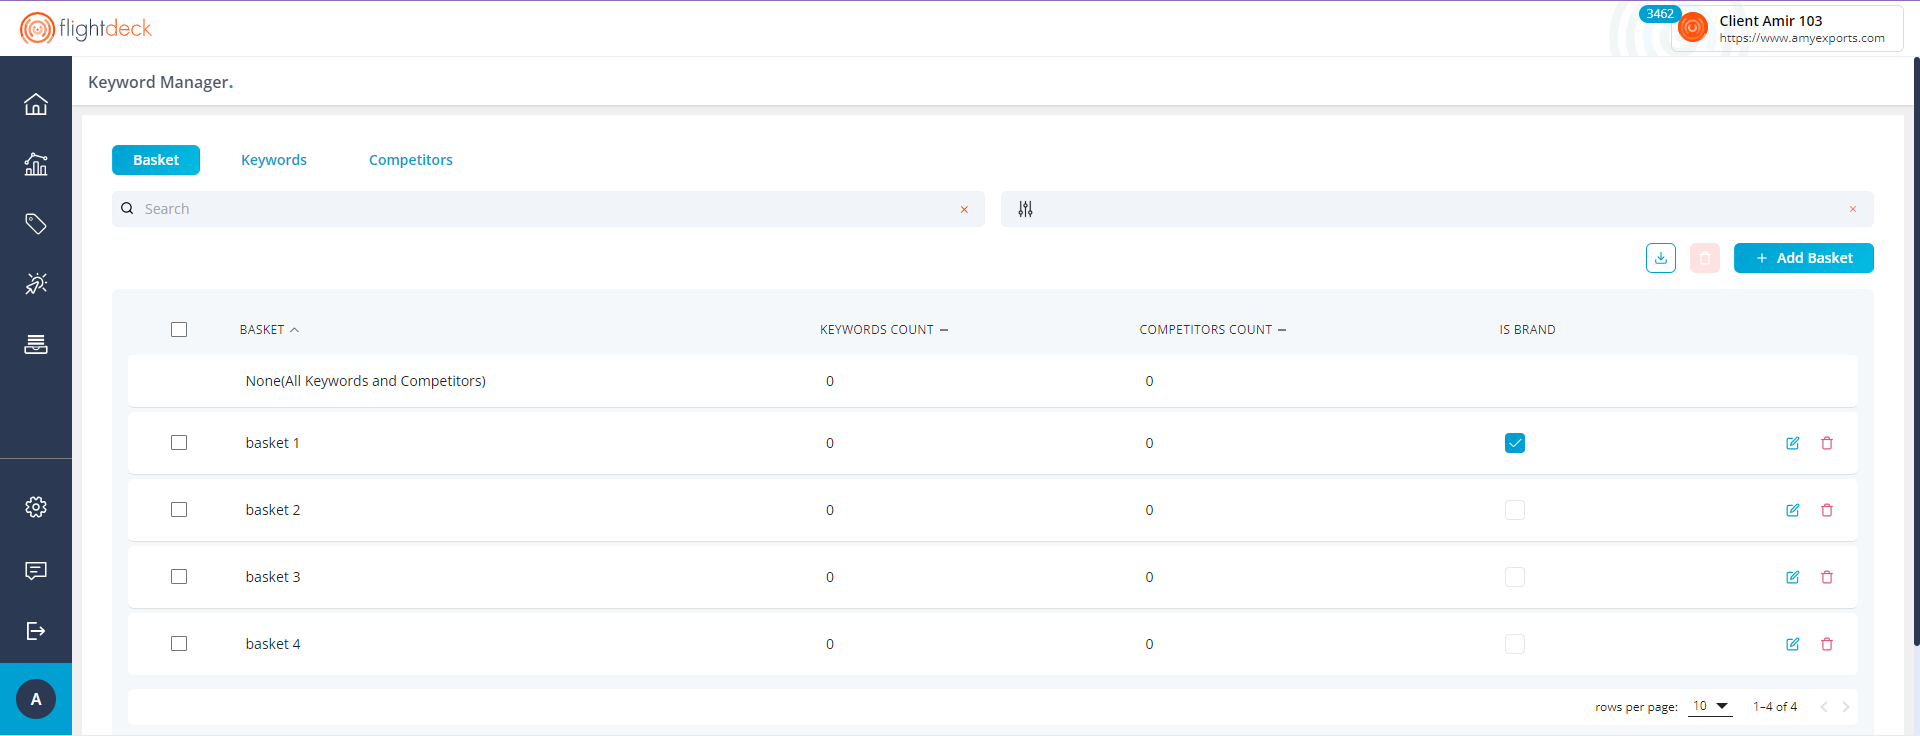
Following the above steps will redirect you to Keyword Manager.
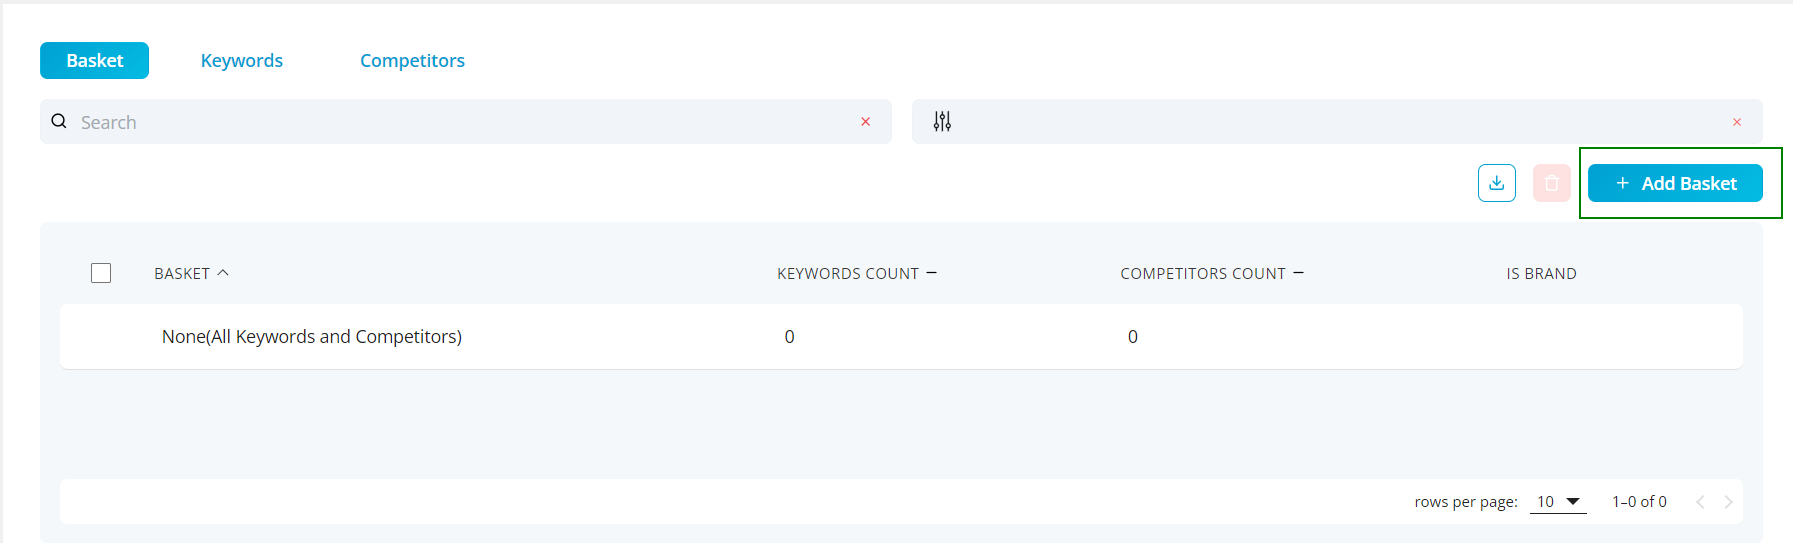
A. Creating Baskets
Steps to follow:
1. Click on Add Basket button
2. In drawer modal; Enter the Baskets. In order to enter multiple baskets, write basket name in each individual baskets.
Basket Names are expected to be Alpha-numeric only.
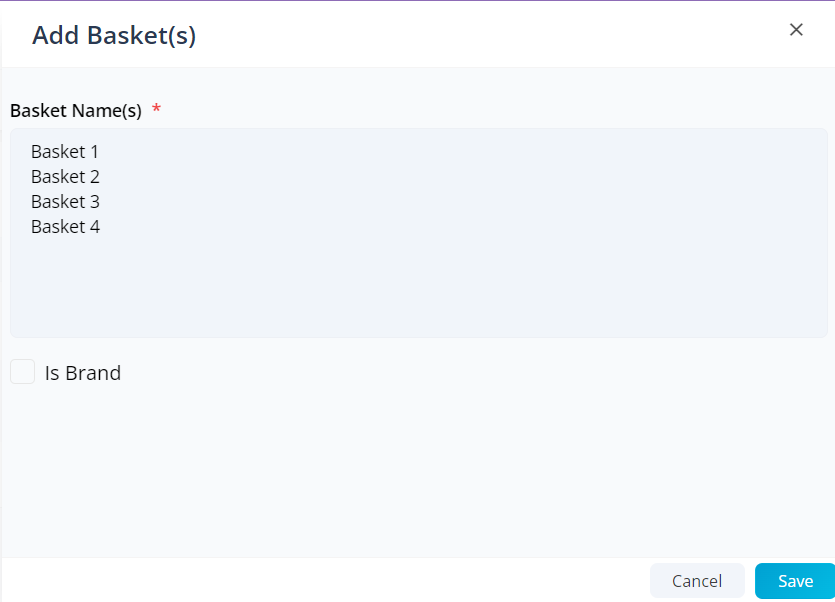
3. Selection of Checkbox IsBrand is not mandatory; if IsBrand is checked the baskets are considered as Brand Basket.(This feature is for future purpose)
You can always select the basket as Brand later on.
4. Click on Save button; to create baskets
B. Editing Basket Name and IsBrand
1. Click on Edit button in order to edit Basket Name and IsBrand status of the Basket.

2. In the drawer modal, make the required changes and click on Save button.
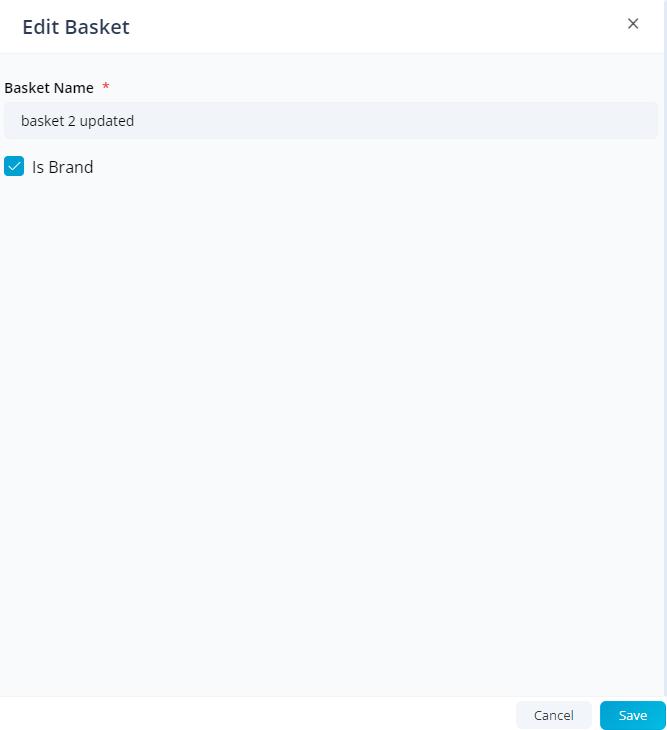
3. The Basket is now Updated.
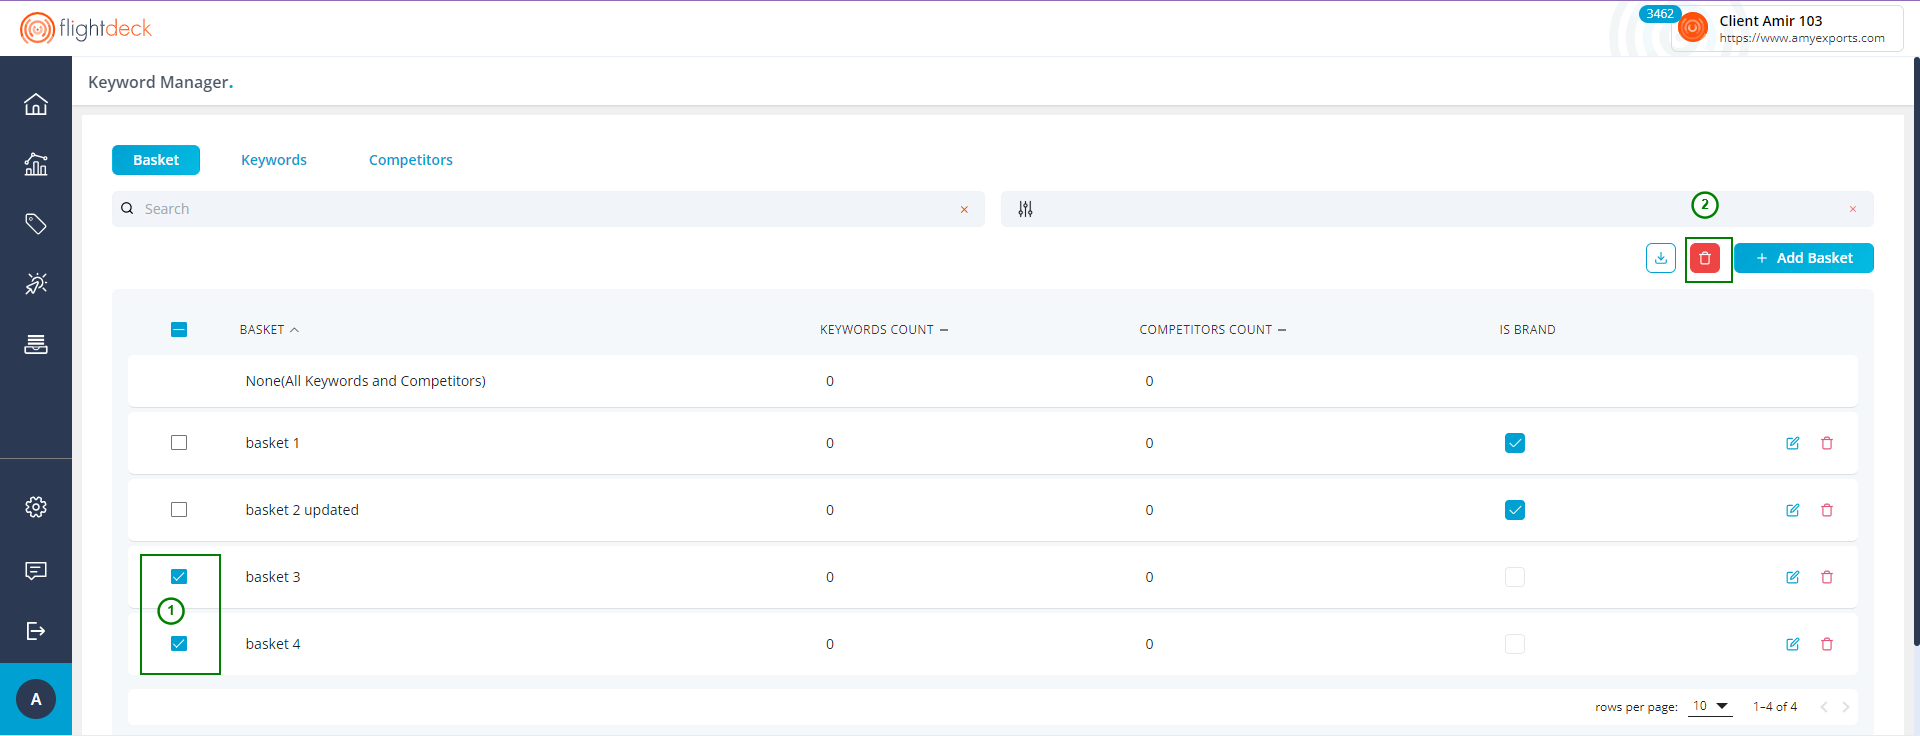
C. Deleting Basket
1. For Deleting the Single Basket; click on Delete button.

2. For Deleting Multiple Basket; select the Checkboxes of the Baskets which you want to delete and click on Delete Button.
- The Bulk delete button is only enabled whenever the baskets are selected using checkbox.
Adding/Deleting Keywords
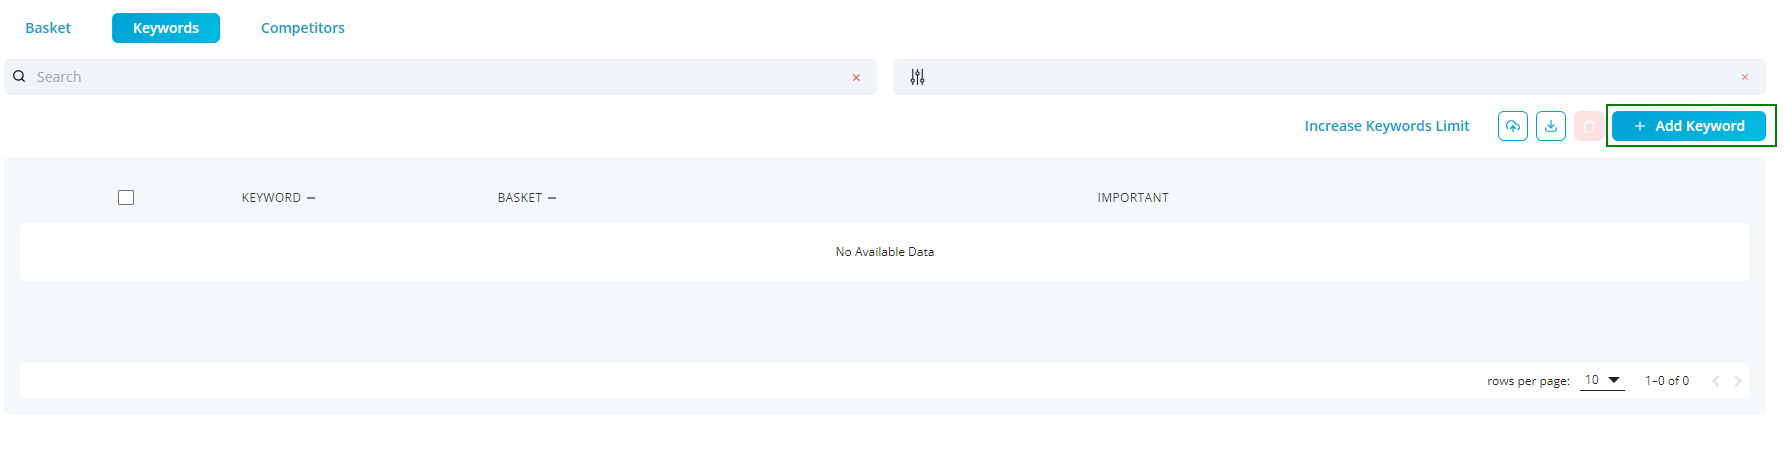
Click on Keywords tab to get to Keywords section.
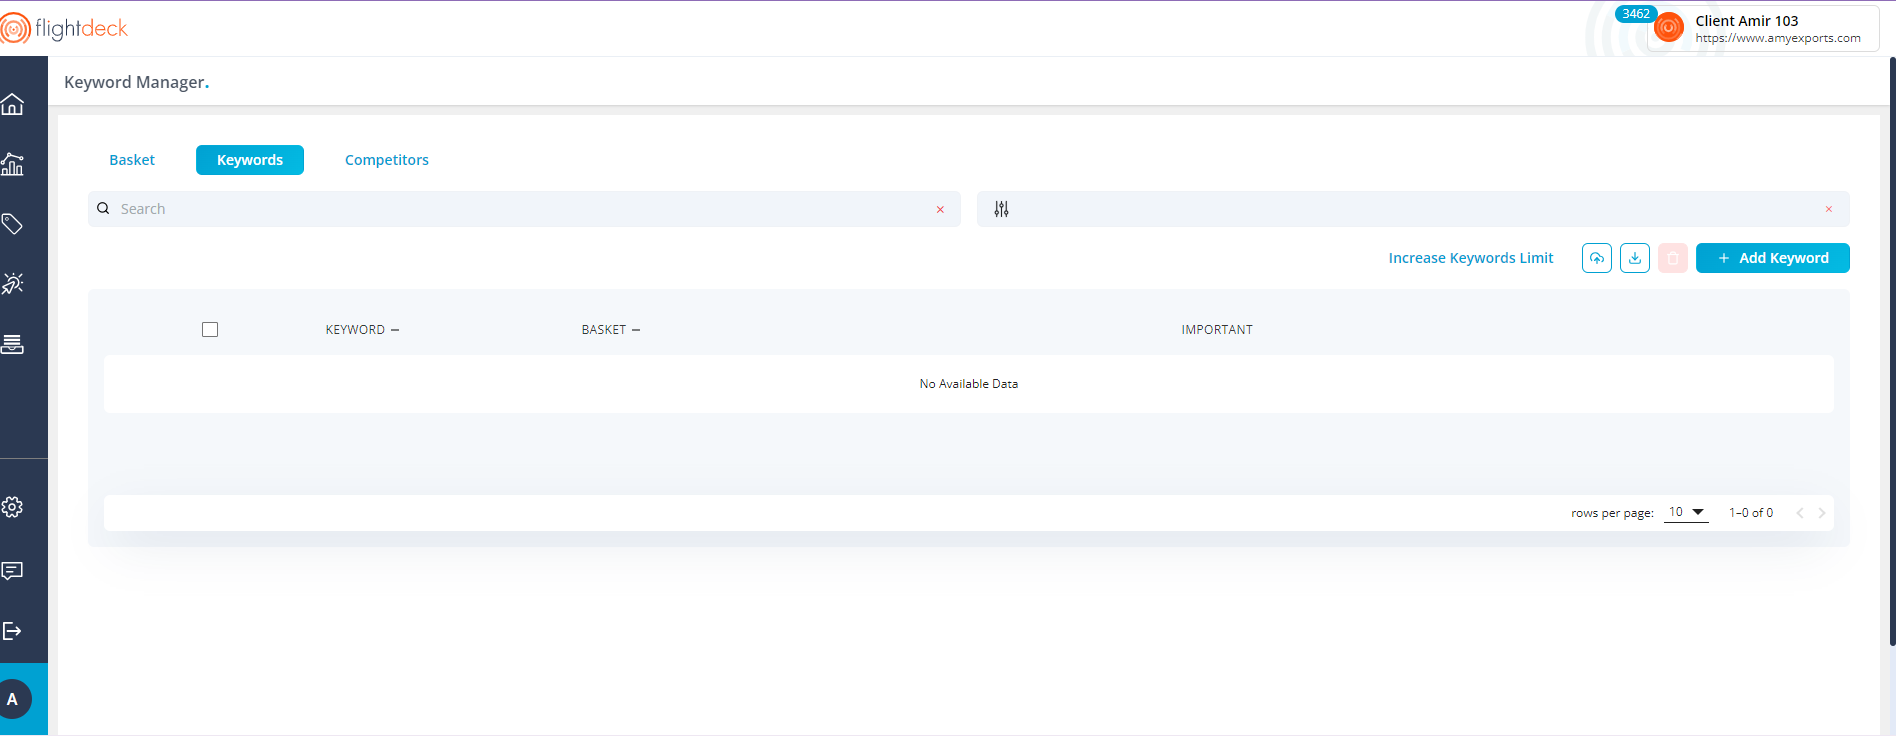
A. Adding Keywords
1. Click on Add Keywords Button to open up the Drawer Modal
2. Enter the keywords in the text area; for entering multiple keywords enter each keywords in individual lines
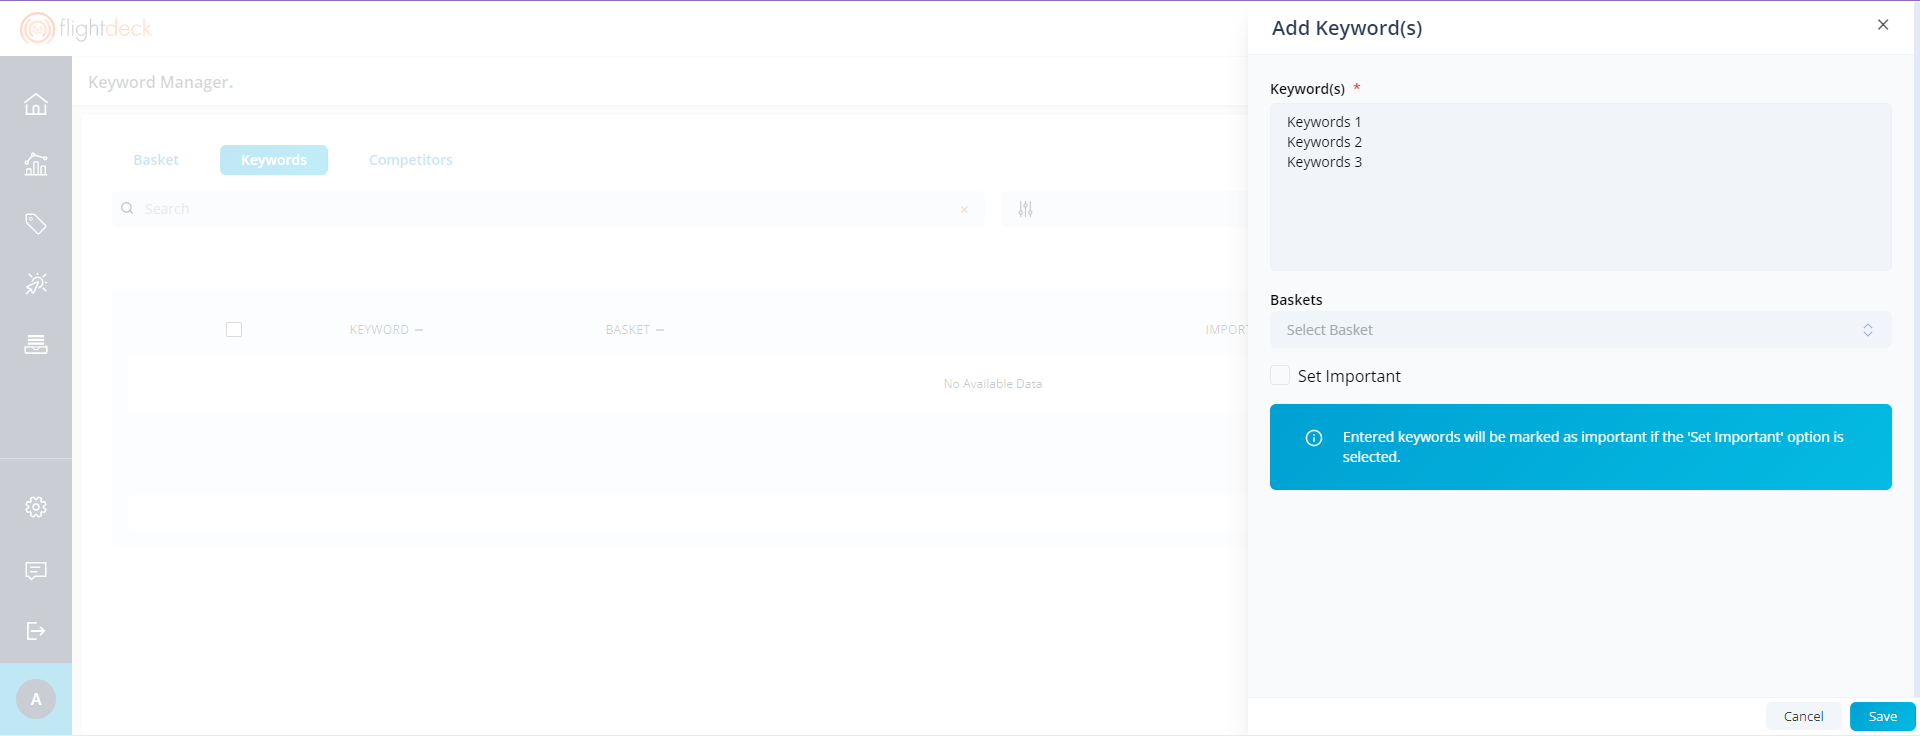
3. For Creating Keywords and adding in the Basket can be done during Saving the Keywords for the Client.(Optional)
- Multiple Baskets can be Selected
- User can always add/remove keywords from the Basket
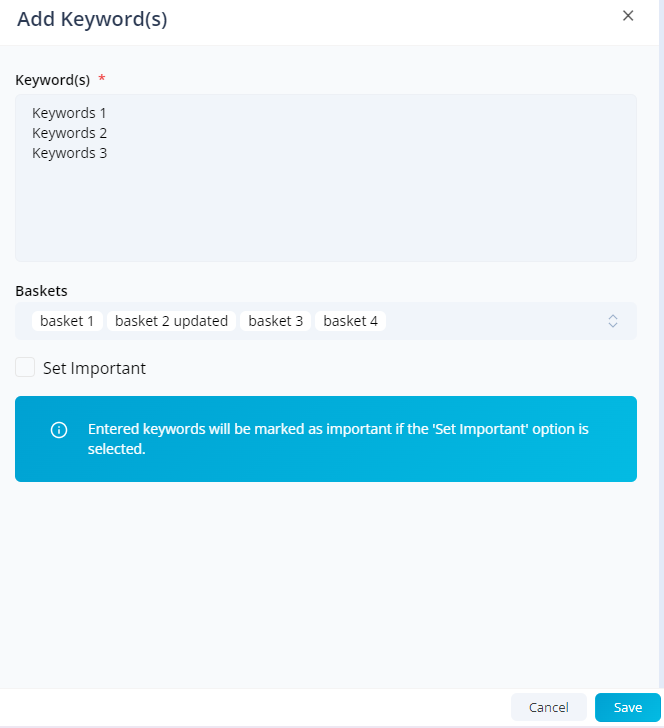
4. Select the Checkbox Set Important for marking the keywords as important keywords.
5. Click on Save Button for saving the keywords; Progress bar will be displayed for adding the keywords.
Saving the keywords will result the Client to queue for fetching the data for Keywords.
B. Adding Keywords to Basket.
1. One way of adding keywords to basket is during the keyword creation process as state above.
2. Select the Keywords from the list and footer component will be displayed.
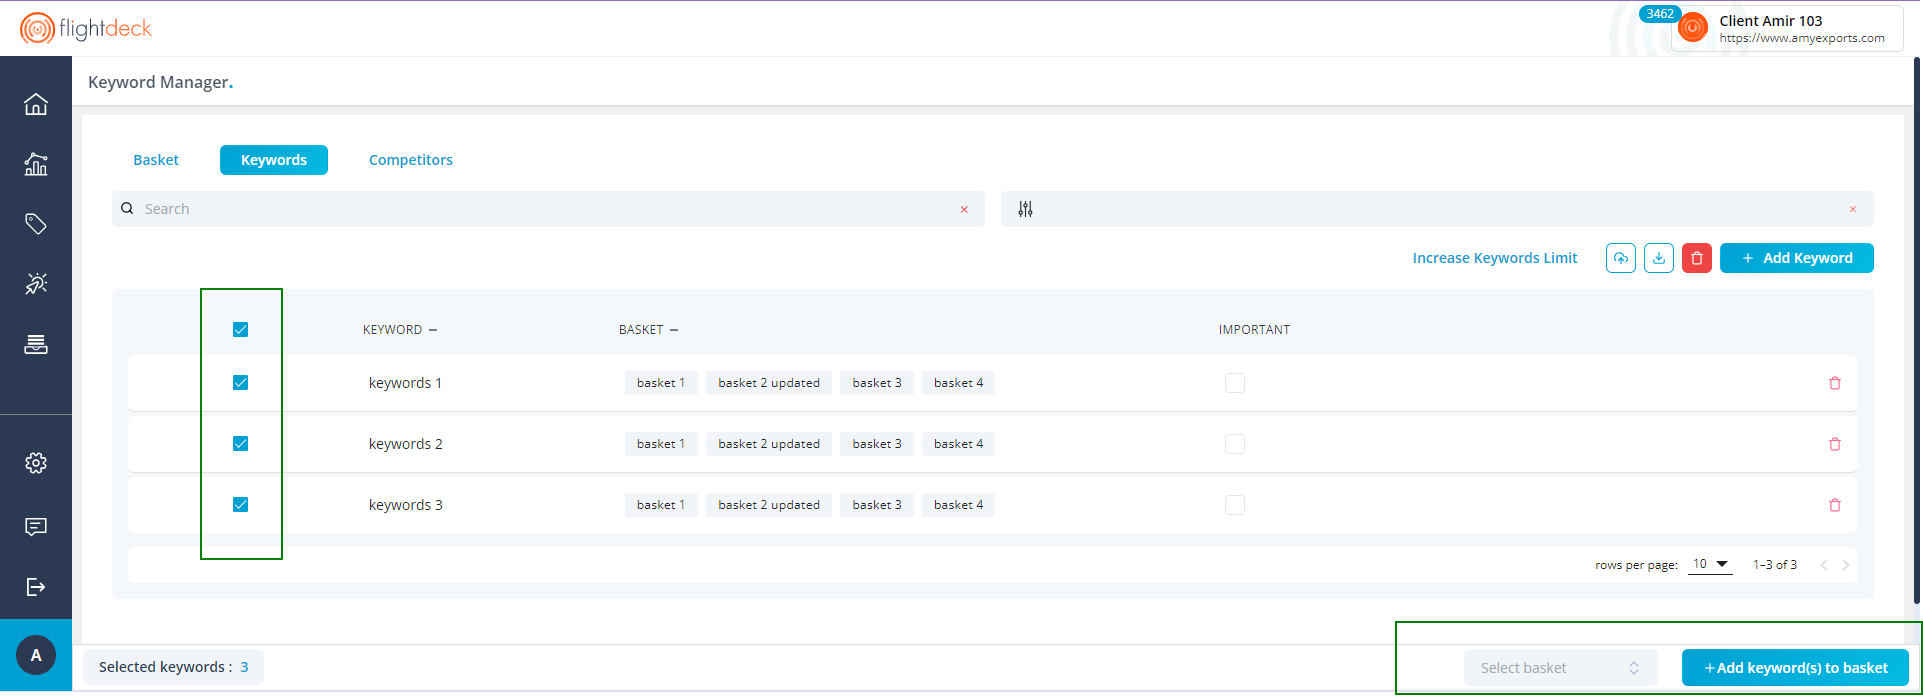
3. Select the baskets which you want the keywords to be inserted from the drop-down and Click on Add keyword(s) to basket button.

4. Keywords are inserted into the Baskets.
No queue process are involved while Adding Keywords to the Baskets.
C. Removing Keywords from Basket.
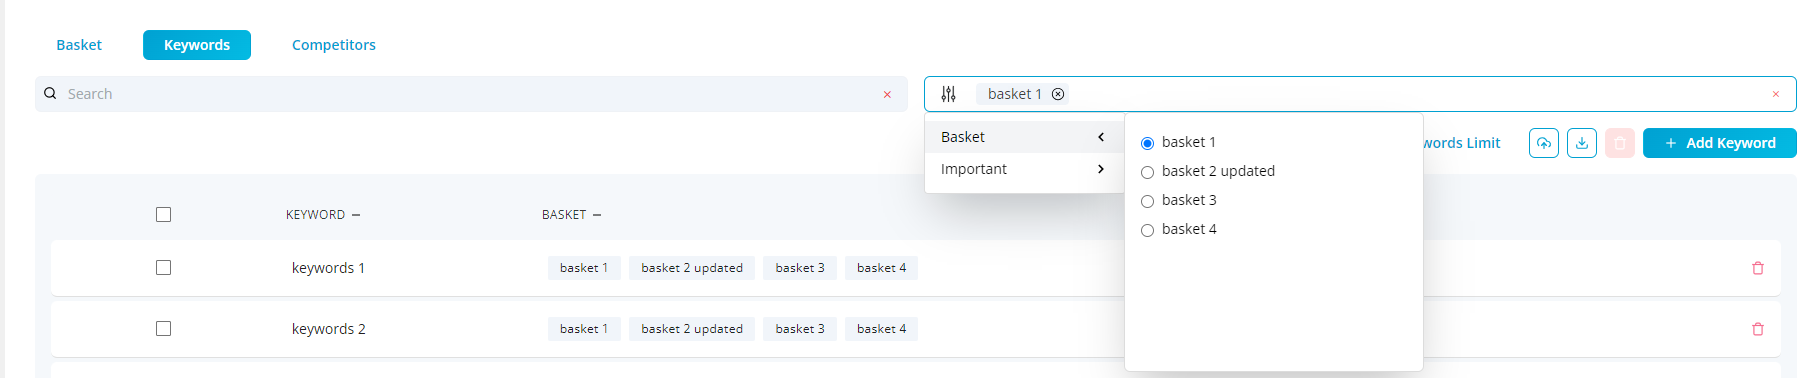
1. Select the basket from filter from which the keyword is wished to be deleted.
2.
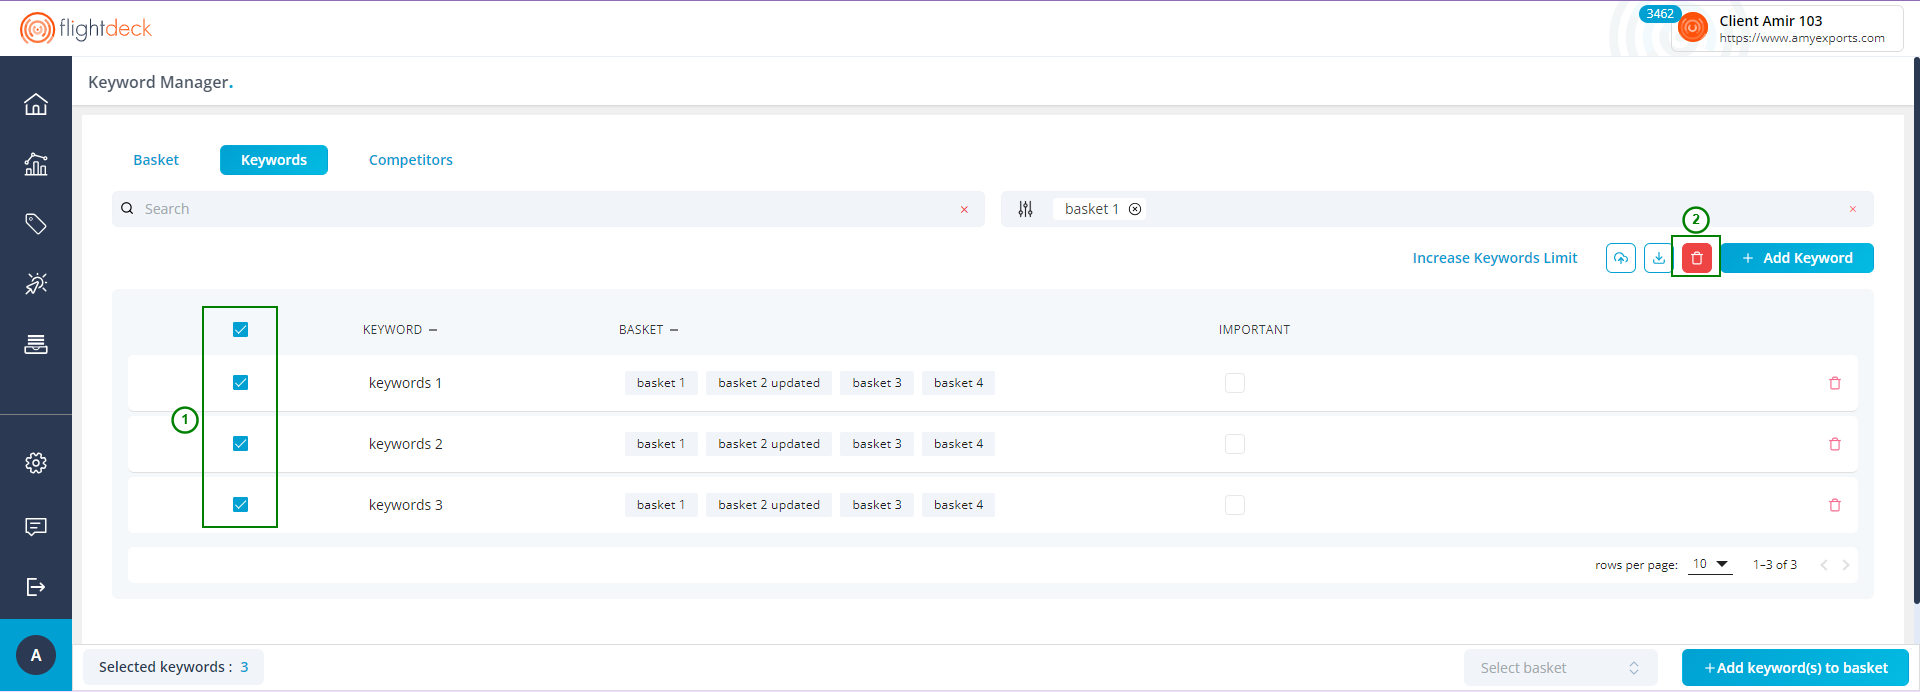
- For Single Deletion; Click on Delete Button aside of Keyword in the list

- For Multiple Deletion Select the checkboxes of the Keywords from the list; and click on Delete button
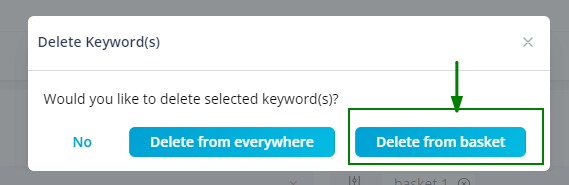
3. Now click on Delete from Basket button
D. Deleting Keywords
1. You can achieve it in two ways:
- For Single Deletion; Click on Delete Button aside of Keyword in the list
- For Multiple Deletion Select the checkboxes of the Keywords from the list; and click on Delete button
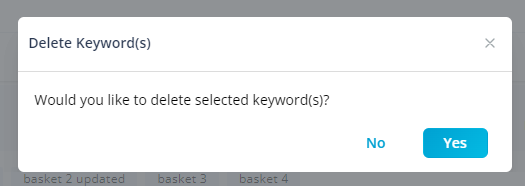
2. Click on Yes button
Deleting keywords might affect the queue operations for the client.
There is limit to enter the keywords to the Client based on Role constraint, and Frequency for Rankings
Checking Keyword Limit and Requesting to Increase Keyword Limit
1. Click on Increase Keyword Limit

2. In the modal the Keyword Limit for the Client is displayed. Current Limit states the keyword limit to the client
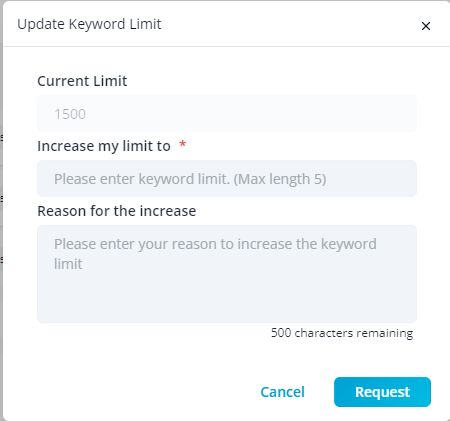
3. To request to increase the keyword limit; need to fill the form and click on Request button.
Now, the email is sent to FlightDeck Administrator regarding the request; once it is approved the Keyword Limit is Updated.
Importing Bulk keyword List along with basket using CSV file
1. Click on Import Button

2. In the modal; click on Keyword Sample File to download the sample file; now fill in the details and Upload the CSV for Bulk keyword creation.
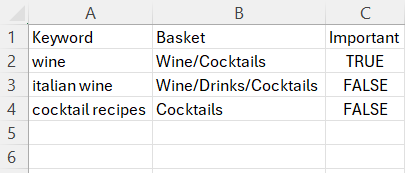
3. Once the keywords are uploaded, the Client is sent to queue for fetching the required data.
Adding/Deleting Competitors
Click on Competitors tab
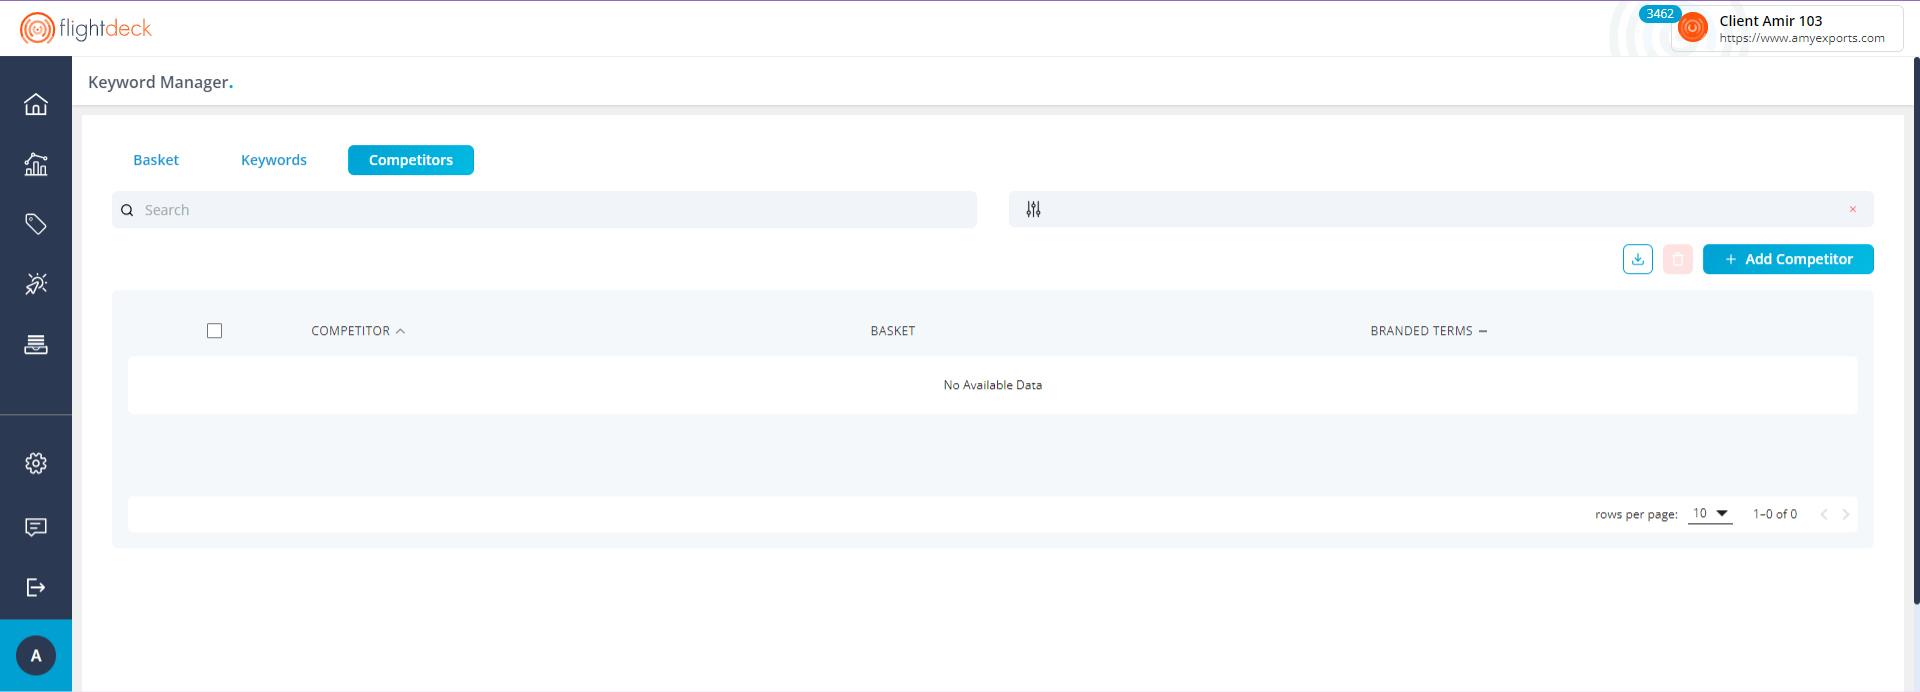
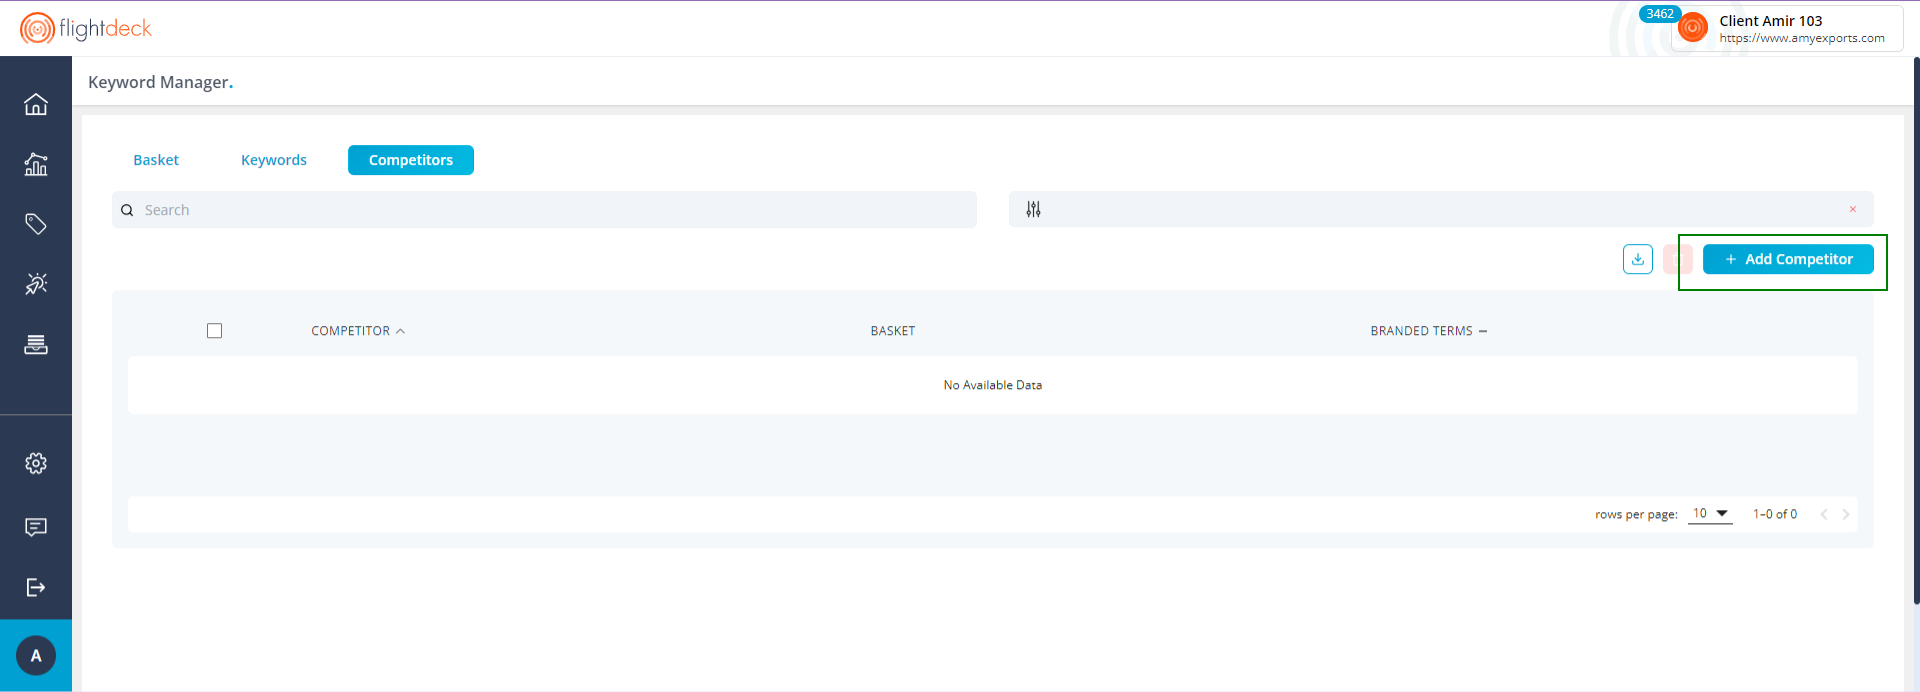
A. Adding Competitors
1. Click on Add Competitors Button to open up the Drawer Modal
2. Enter the Competitors URLs in the text area; for entering multiple Competitors enter each Competitors in individual lines

3. For Creating Competitors and adding in the Basket can be done during Saving the Competitors for the Client.(Optional)
- Multiple Baskets can be Selected
- User can always add/remove Competitors from the Basket
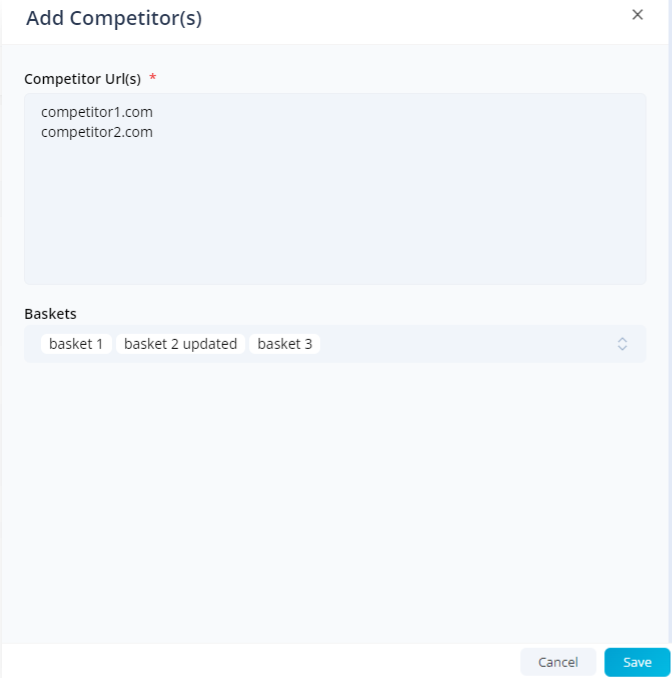
4. Click on Save Button for saving the Competitors
Saving the Competitors will result the Client to queue for fetching the data for Keywords.
B. Adding Competitors to Basket
1. One way of adding Competitors to basket is during the Competitors creation process as state above.
2. Select the Competitors from the list and footer component will be displayed.
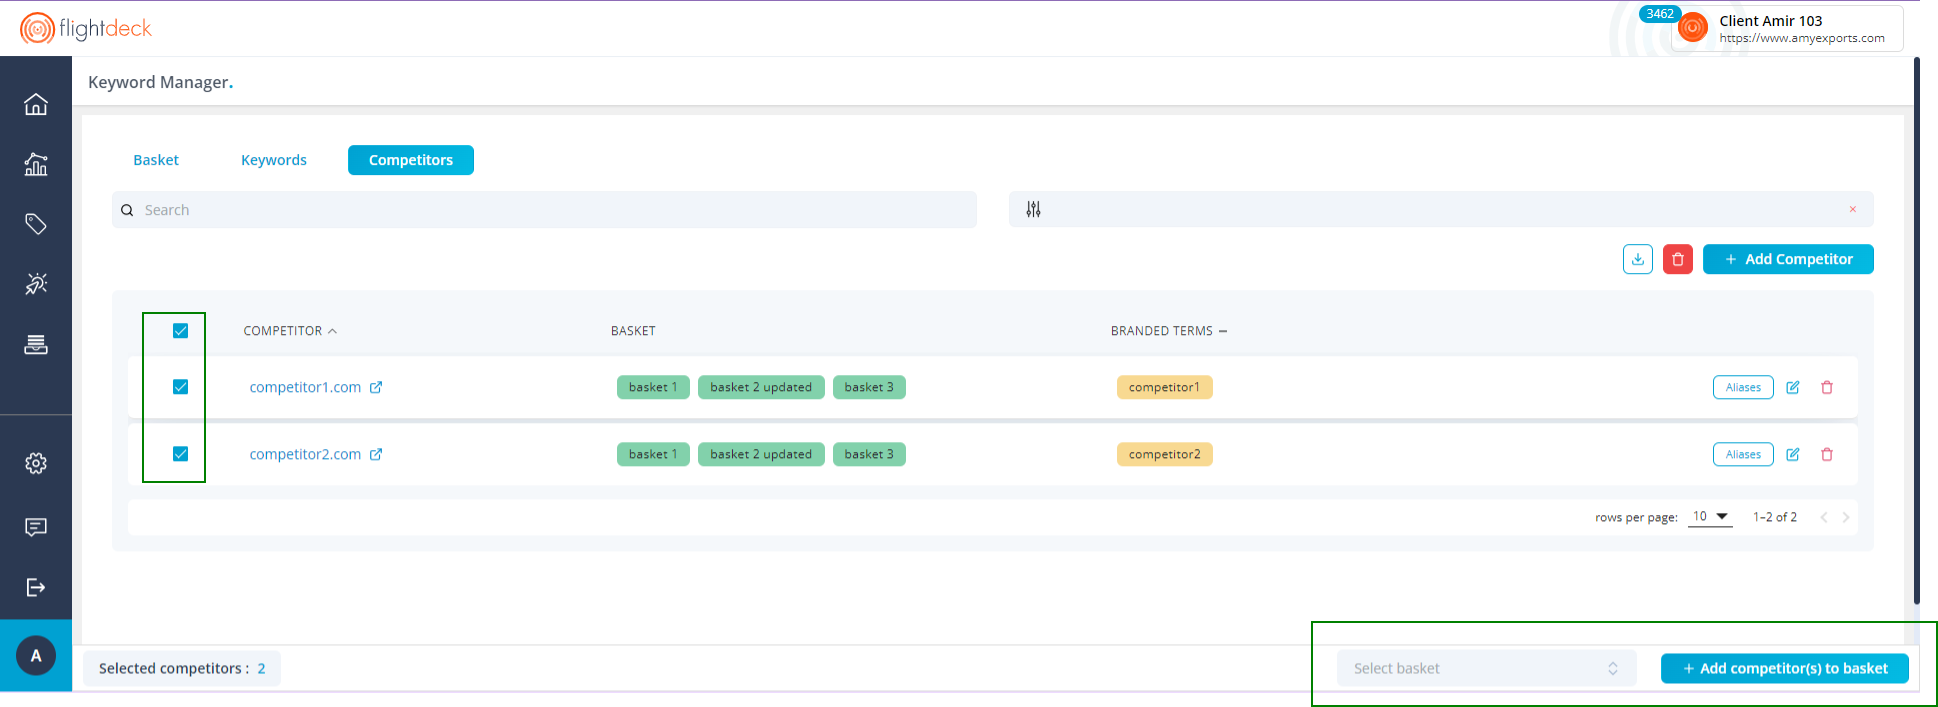
3. Select the baskets which you want the Competitors to be inserted from the drop-down and Click on Add competitor(s) to basket button.

4. Competitors are inserted into the Baskets.
No queue process are involved while Adding Competitors to the Baskets.
C. Removing Competitors from Basket
1. Select the basket from filter from which the Competitors are wished to be deleted.
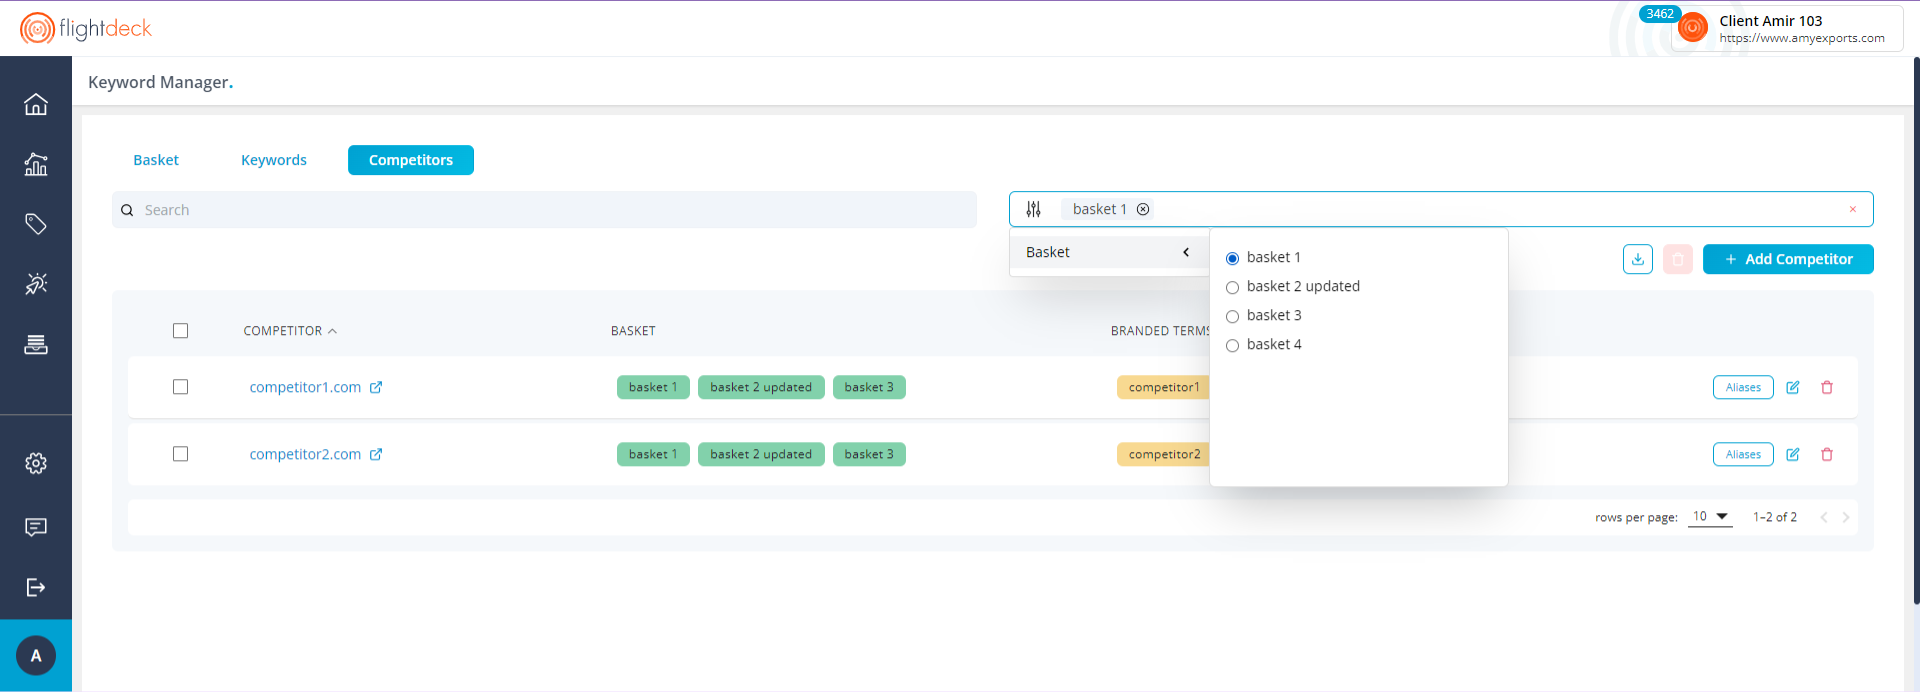
2.
- For Single Deletion; Click on Delete Button aside of Competitor in the list

- For Multiple Deletion Select the checkboxes of the Competitors from the list; and click on Delete button
3. Now click on Delete from Basket button
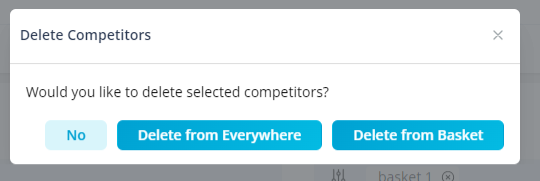
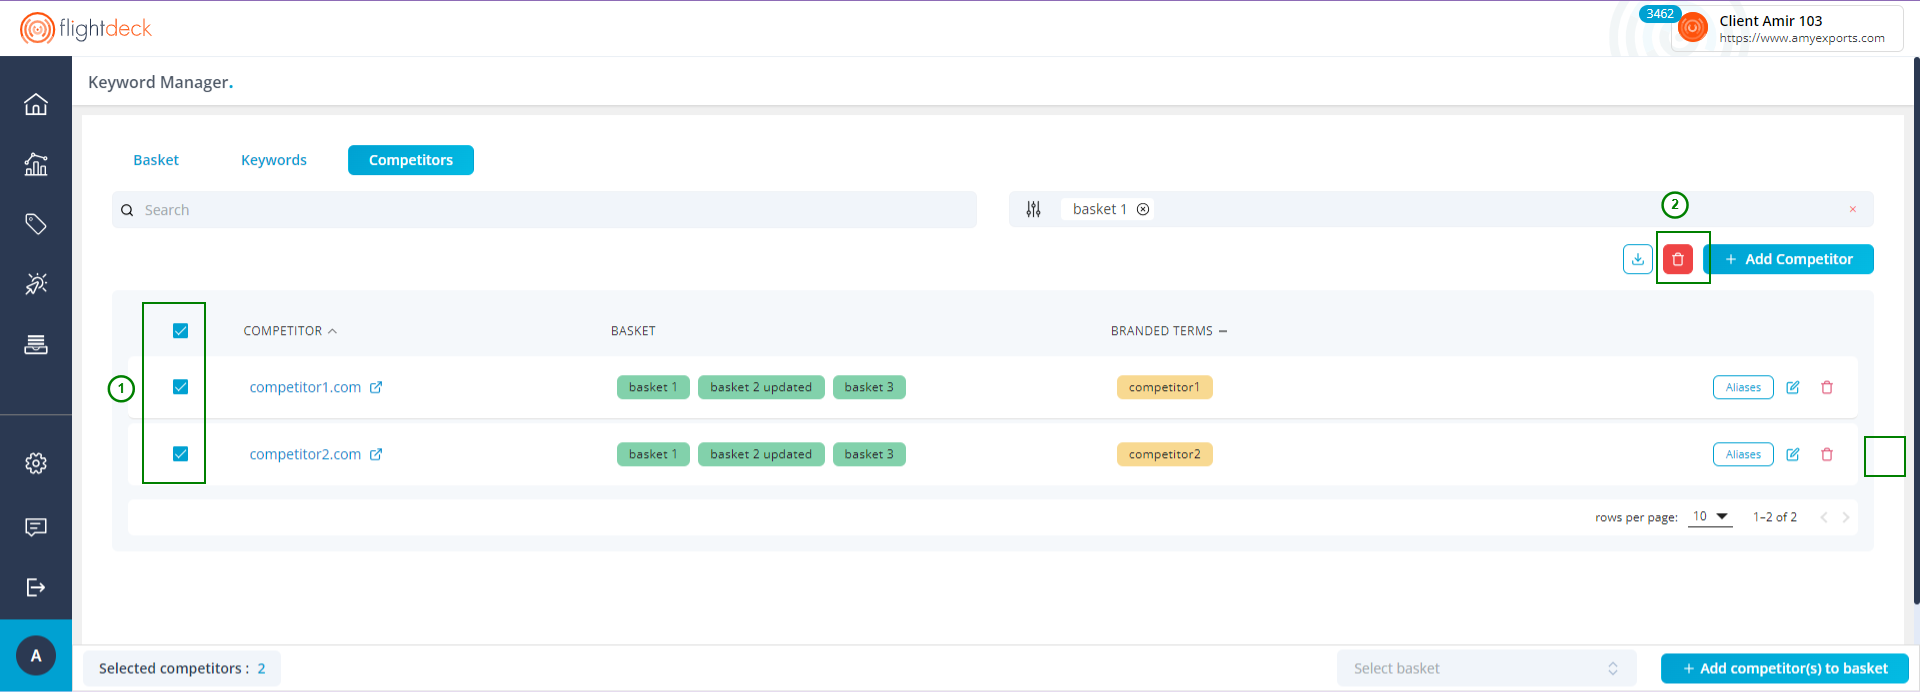
D. Deleting Competitors
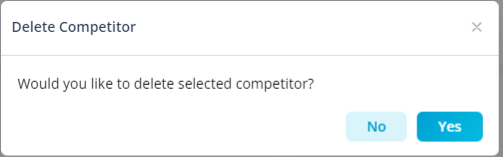
1. You can achieve it in two ways:
- For Single Deletion; Click on Delete Button aside of Competitor in the list
- For Multiple Deletion Select the checkboxes of the Competitors from the list; and click on Delete button
2. Click on Yes button
Adding and Updating branded terms of Competitors
Branded terms are extracted automatically during the Addition of Competitors.
1. Click on Edit button

2. In the drawer modal; add branded terms of the competitor in comma (,) separation as:
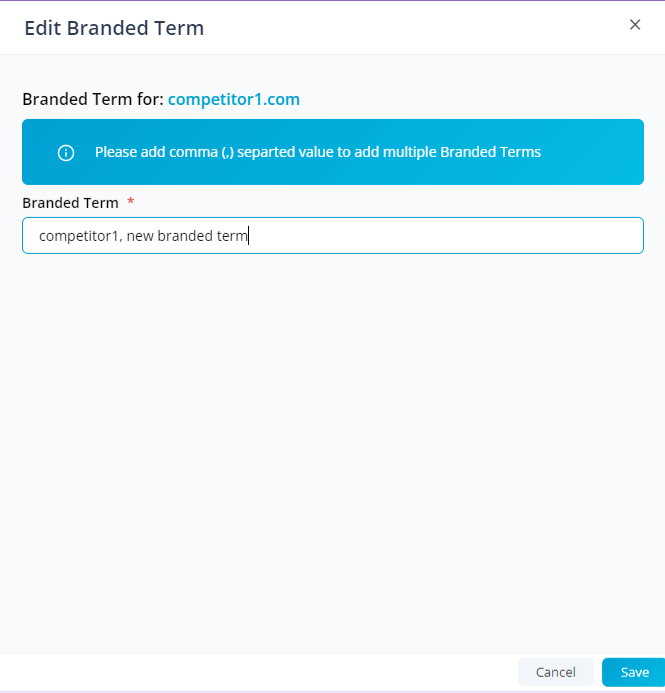
3. Click on Save button
Branded terms cannot be removed but altered only.
Addition and Deletion of Competitors Alias(es)
1. Click on Aliases button to display the existing Alias URL or add one

2. In the drawer, Click on Add Alias button to add new alias
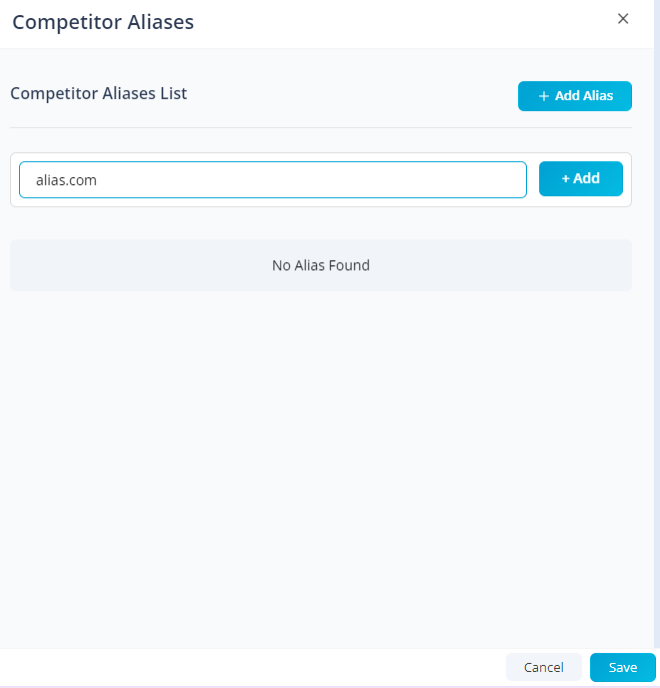
3. Click on Add button to Stage the alias; you can add multiple Alias(es)
4. Now, click on Save button to save the Aliases.